My friend Steve Riley and I travelled to Rushden, Northamptonshire for the Phoenix gamers annual Warhammer Ancient Battles (WAB) event, Axes.
The tournament was for a 2100 army using the Armies of Antiquity 2 lists. Note that a 2100 point army under the new lists is worth about 1600 under the old WAB lists, so really armies were quite small.
We took a Byzantine army;
Mounted general
2 units heavy cavalry
2 units mixed spearmen (also equipped with darts) and archers
1 unit Varaginian Guard
2 units of skirmishing javelinmen (one elite with a ballistic skill of 4)
All three of the units of formed infantry have the Shieldwall special rule.
There were 17 other players, 6 of them taking Normans. Now Steve and I discussed this on the journey to the event and agreed that the best way to beat Norman knights was to shoot them, not fight them.
Game 1 vs Italian-Normans
The scenario was with a river across the table, with a ford and a bridge. Extra bonuses would be scored by capturing either or both of the crossings at the end of the game. I hate rivers in games of WAB because they stop my normal tactic of hitting the enemy in the flank. But this game was Steves to command.

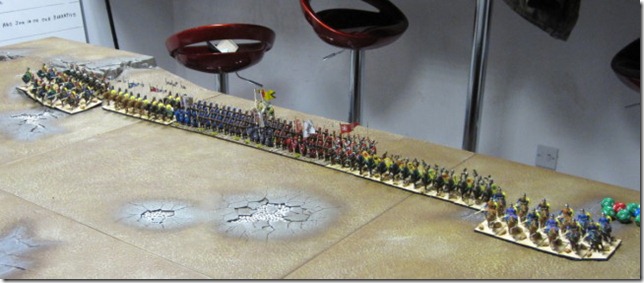
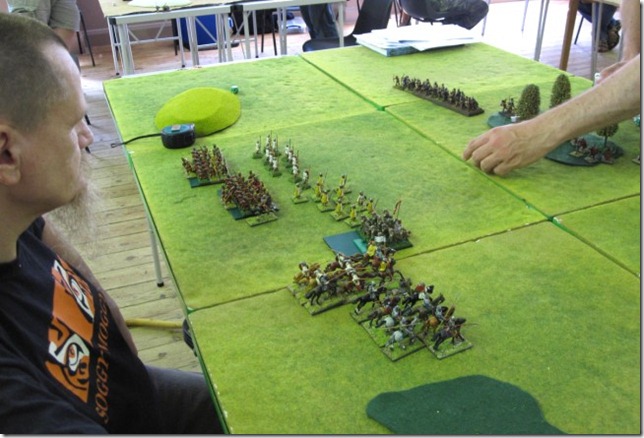
Looking across the River at our Byzantine army. The Varaganians have taken advantage of their Riding Horses special rule to swiftly move up and start crossing the river at the ford. Meanwhile on the right of the picture, a unit of cavalry are heading for the bridge. We are facing an Italian-Norman army, basically Normans with some Arab allies.

How the battle looked from our side of the table. Norman knights on foot, supported by archers near the bridge with the main part of the Norman army (2 units of Arabs, 2 units of cavalry and some skirmishers near the ford).

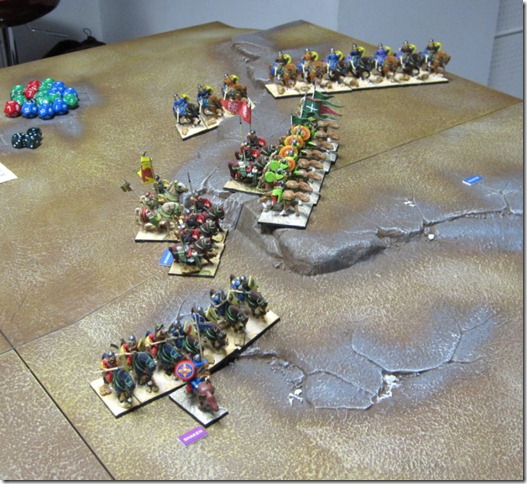
I am afraid that the Varaginian guard were shot to death but behind them came the Byzantine spear units who swiftly engaged the Arab spearmen (see top of picture). A unit of Byzantine cavalry had chased off the enemy skirmishers and got behind the Norman knights on foot (bottom of picture) with the Byzantine skirmishers also now across the river, Hurrah!

However it all went wrong for us. Despite charging into the rear of the Norman foot knights, our cavalry was beaten and broke. Likewise the Arab infantry broke the Byzantine spearmen. But the spearmen rallied and in this picture are ready to have another go.

Towards the end of the game. In the end neither side was able to claim control of the crossing and although both sides had lost units, the Byzantine units were worth more points and so it was a slight win to the Normans. But passer-bys said that were the only army successfully to get across the river, so moral point scored.
Game 2 vs another Norman army.
This time on an open battlefield but with heavy rain falling, which limited the ability of missile armed troops to shoot. That was bad news for us as we stood little chance trying to out-fight the Norman knights.

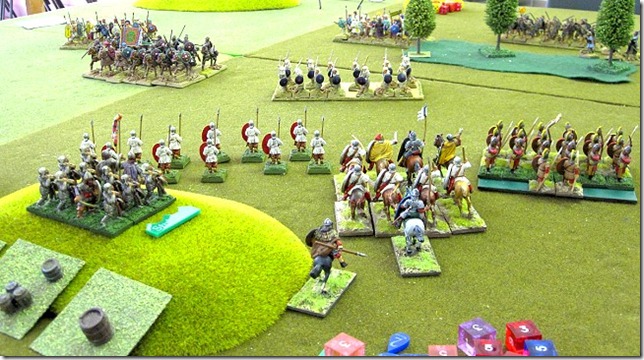
Our opponent has massed two units of Norman knights on the right of the photo, with a large unit archers on the left and light troops coming through the woods.

Our army, with cavalry on the right and the infantry on the left. Probably precisely the wrong way round, the infantry would be much better trying to face up to the Norman charge, in shieldwall formation.

Disaster, one unit of Norman knights swept forward, crushed one unit of Byzantine cavalry, killing the general and causing half the Byzantine army to rout.
We did pull the game back slightly, rallying the heavy infantry and then counter-attacking with the Varagians but it was too little too late and the Normans had won the day big style with a maximum 32-0 victory. To make us feel a little bit better about it, quite a few Norman armies scored maximum points in the this round. With the freedom to move and a reduction in the effect of shooting, this game was where the Normans were going to excel.
Game 3 vs Arabs
This was an attacker/defender scenario, with the Byzantines acting the part of the defenders. Apparently our army had recently looted some Arab villages and the Arabs wanted their stuff back. This time I was in command and I stuck our loot behind a hill with the Varaginians on top of the hill. Either side of the hill were the two units of spearmen. The idea was that these three units provided a blocking ‘wall’ – and a wall that could shoot – whilst our cavalry and skirmishers probed any enemy advance for weakness.

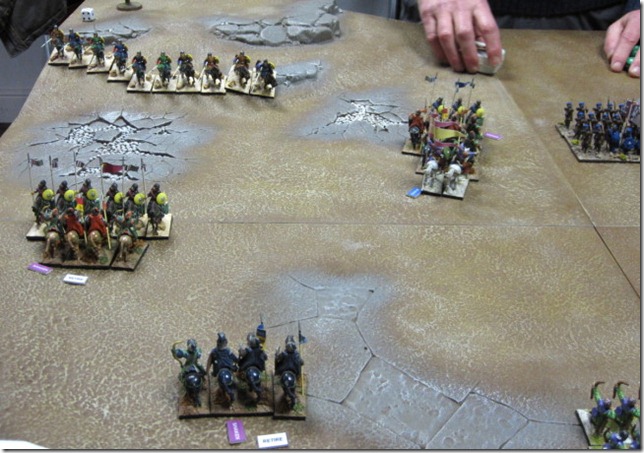
Here you can see the initial Arab advance, the Byzantine cavalry are just about to charge the enemy skirmishers. They did not catch them but rather than face the charge the skirmishers broke and ran.

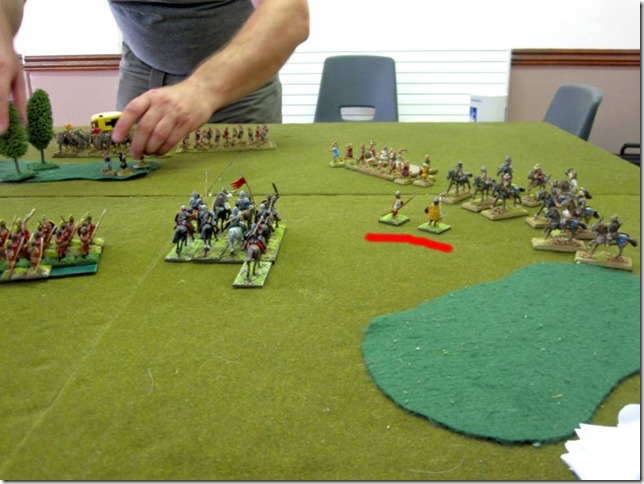
On the right, the Arab firepower was impressive, on the first turn the unit of Byzantine skirmishers (underlined in red) took 8 losses, reducing them to only 2 figures but those 2 figures passed their leadership test, advanced and killed an Arab horse archer before being shot down in the next round of shooting. Meanwhile the other unit of Byzantine cavalry advanced on the enemy, to drive them back and keep them away from the loot.

The Byzantine cavalry died to a man but drove off 2 units of enemy skirmishers and kept those machine gun horse archers busy. Mission successful.

On the left the Arab cavalry charged home and though it was a close fought battle, the Byzantine spearmen (in shieldwall) just gained momentum in the first round of melee. From there it was downhill for the Arab cavalry, they needed to be charging to gain the strength bonuses and they lost every round of melee after that. After 3 further rounds of combat, they broke and the Byzantine spearmen pursued, capturing the Arab unit and army standards!

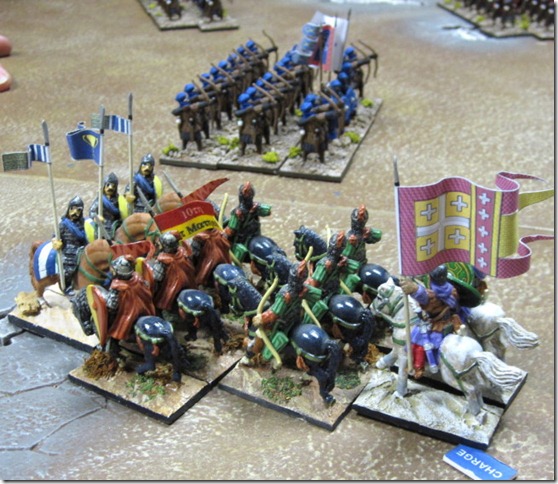
In the centre, the Arab spearmen charged the Byzantine cavalry. Much to my amazement the Arab spearmen won (although only by one point) and the Byzantine general fluffed his leadership roll and the cavalry ran away – although they got away safely. At this point the Varaginians started to move off the hill to see if they could help with any of the melees.

And toward the end of the game you can see that the Arabs have been kept well away from the hill.
The final move of the game I don’t have a picture for but it was amazing. The Arab cavalry on the left had rallied but knew that they had no chance to beat the Byzantine spearmen without their standards, so wisely pulled back. The Byzantine cavalry (with the general) rallied on the right of the hill where the Arab horse archers shot at them. The Arabs caused 5 hits, all of which became wounds and I failed to make any saves at all (saving – or rather not saving – roll of 3 or more!), 5 dead Byzantine cavalry. The Byzantine cavalry unit was then reduced to a single figure, the leader plus the army general. However they passed their leadership roll and then charged the horse archers who elected to stand and fight. With only 5 attacks between them, the Byzantines inflicted 4 losses on the horse archers who now only 4 figures left themselves were forced to flee immediately.
The loss of the horse archers meant that the Byzantines had won the game with a small points advantage in losses but when captured standards and the game objective of holding on to the loot were considered it was a good 20-12 win.
Overall our army came 14th out of 18 players but we really enjoyed the days gaming. There is bound to be another Axes WAB event in 2013 and I would recommend it if you fancy a fun days ancient gaming.
The Phoenix club website is here for more information about the club.


